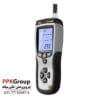
کارشناسی رنگ بدنه اتومبیل با دستگاه DFT امریکایی
کارشناسی رنگ بدنه اتومبیل با دستگاه DFT امریکایی
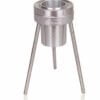
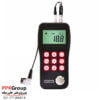
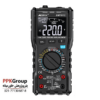
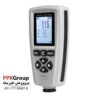
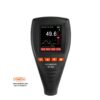
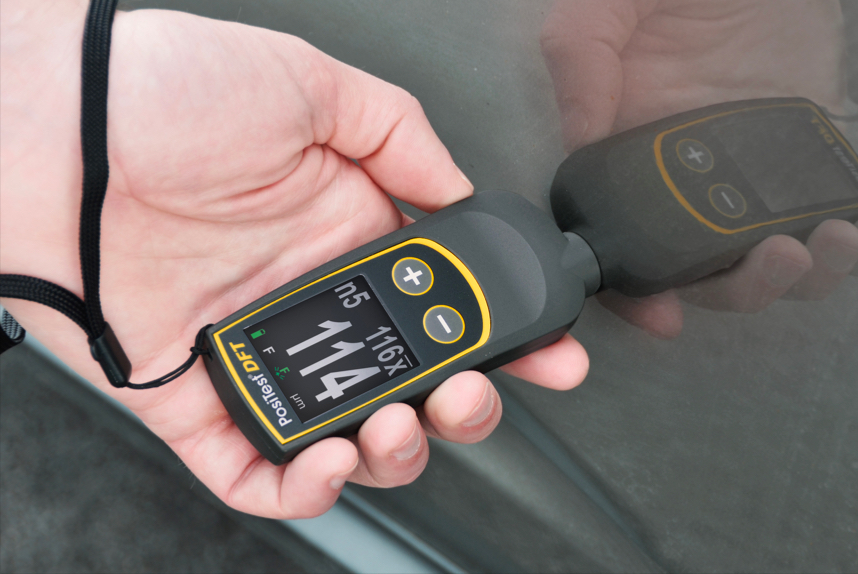
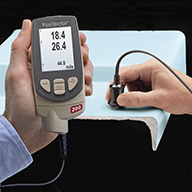
دستگاه تستر رنگ اتومبیل PosiTest® DFT بهترین و جدیدترین دستگاه کارشناسی رنگ اتومبیل در دنیا
این تستر رنگ ضخامت رنگ اتومیل را با اختلاف 1 میکرون نمایش میدهد ، صفحه بزرگ و رنگی و سنسور مقاوم در سایش از مجسنات این دستگاه میباشد
دقت این دستگاه نسبت به الکومتر 311 انگلستان 10 برابر بالاتر میباشد ، نمایندگی دفلسکو ایران شرکت پترو پژوهش خاورمیانه (سهامی خاص) این دستگاه را یکسال گارانتی و 5 سال خدمات پس از فروش آن را بر عهده میگیرد .
021-77130687-8
021-77228679
09122710269
Automotive Paint Inspection – Paint Meters
Fast buying decisions at auto auctions require an accurate assessment of paintwork quality to determine a vehicle’s value.
DeFelsko manufactures hand-held, non-destructive coating thickness gages that are ideal for use by body shops, dealerships, painters, appraisers, inspectors, detailers, and professional car buyers at auctions. They enable a quick assessment of the quality of the paint finish and to verify that the condition of a vehicle matches its reported history, that is, determine if the vehicle has been in an accident or experienced other types of paint damage.
Every year, millions of used cars are sold at various auction locations throughout North America. An individual auction location will often sell more than a thousand cars a day. Buyers have limited time to determine true value prior to the vehicle coming onto the block. In addition to numerous other inspection points, they need to assess the quality of the paint finish and verify that the condition of the vehicle matches its reported history. Critically they must determine if the vehicle has been in an accident or experienced other types of paint damage.

Historically, buyers and inspectors relied only on visual inspections such as checking body panel alignment and looking for gaps that might indicate bodywork or panel replacement. They looked for signs of repainting such as paint overspray on seals and body openings as well as differences in paint color and finish throughout the vehicle.
Subtle changes in color, texture or gloss often go undetected unless the buyer invests significant time to view the vehicle at different angles and under different lighting conditions. Visual inspection techniques are particularly limiting in dimly lit areas, in bad weather (rain, sleet or snow), or on dirty vehicles.

In recent years, buyers have begun to rely increasingly upon electronic paint thickness meters to accurately assess paintwork quality. Unlike visual inspections, these instruments provide reliable and quantifiable measurement results.
At first, efficient and affordable paint inspection methods were limited to using magnets or inaccurate magnetic pull-off testers. Besides having limitations in accuracy and resolution, the largest drawback of many such magnetic instruments is their inability to determine paint thickness on anything other than steel. Modern automotive construction methods now include materials such as aluminum, fiberglass and plastic.
Manufacturing Materials
Traditionally, steel was used exclusively to manufacture automobile exteriors because it balanced cost with strength and machinability. Now aluminum is used for some components as manufacturers look for ways to reduce weight without sacrificing safety. Both these metals require painting for corrosion protection and cosmetic appeal.
Bumpers and fascia systems are commonly made of plastic and composite materials. Lightweight, they allow designers the freedom to create innovative concepts. While metal panels are easily dented by minor impacts, plastic body panels are more resistant to damage.
On some recently manufactured cars and trucks it is not uncommon to find all three materials – doors and fenders made of steel, roofs and hoods made of aluminum, and bumpers and mirrors made of plastic.
Improved collision repair quality has made it harder to spot value-decreasing damage. As large numbers of low-mileage vehicles come off lease and are being cycled through commercial and government fleets, inspectors and buyers rely on recent developments in thickness measurement technology to help determine vehicle value.
Older Methods
Until recently, consumers requiring an efficient and affordable means to inspect automotive paint thickness have mainly been limited to measurement solutions such as magnets, pen pull-off testers, and a few basic electronic instruments. Unfortunately most of these solutions have extreme limitations in accuracy, resolution and in some instances provide no quantitative results (i.e. only red, yellow or green lights).
The largest drawback of many such magnetic instruments is their inability to detect paint thickness on aluminum. Even on steel some magnetic instruments can be easily fooled by the addition of steel particles to the filler. When looking for minor paint thickness inconsistencies between panels (representing potential repainting), information provided by an instrument with only a 0.5 mil (13 um) resolution and 1 mil (25 um) accuracy is extremely limited.
Current Methods
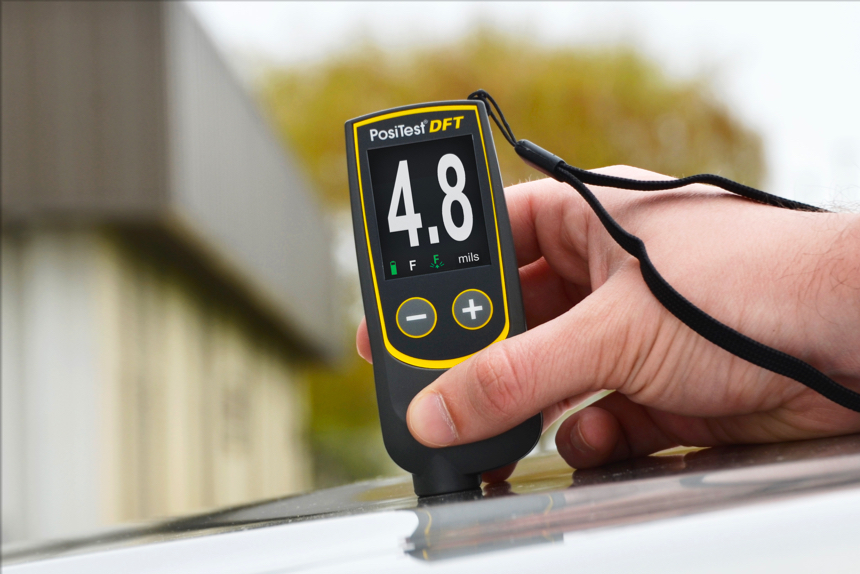
DeFelsko manufactures the PosiTest DFT, a hand-held, non-destructive paint meter that is ideal for measuring the thickness of automotive paint on aluminum or steel automotive panels. The PosiTest DFT-F Ferrous is capable of measuring up to 40 mils of paint on steel panels, where as the PosiTest DFT-C Combo is available for measuring on both steel and aluminum panels. With 3% accuracy and a 0.1 mil (2 um) resolution, either PosiTest DFT meter is capable of meeting the requirements of most paint measurement applications.
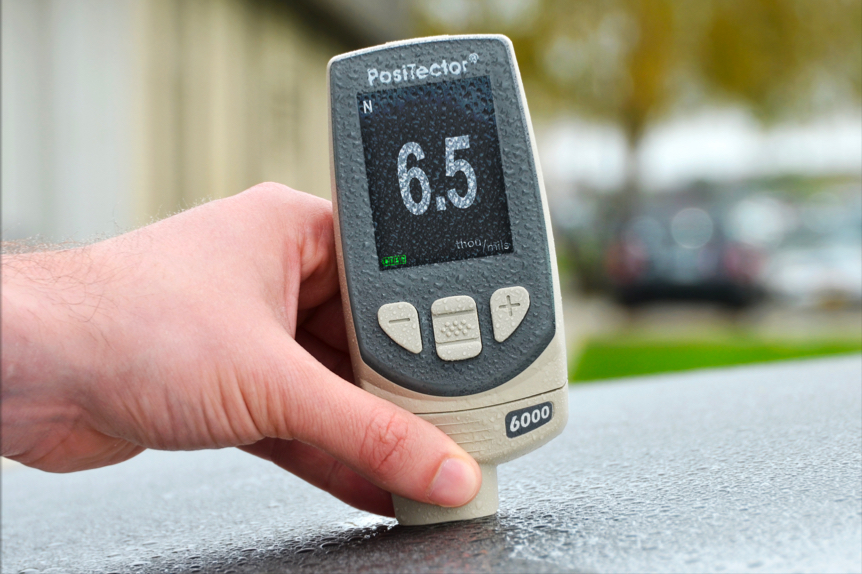
As an alternative, the PosiTector 6000 series of meters provide similar measurement capabilities with higher accuracy and resolution. Additional features such as memory and print capability are also valuable to customers with a desire to log measurement results.
Based on the intended application, customized meters and probes are available that are specifically designed for measuring on steel, aluminum or both substrates.
Three Measurement Principles
Paint thickness over exterior automotive materials is best measured with hand-held, electronic instruments. Three types are available and selection depends upon the type of coating, the material being painted, and the size and shape of the part. These instruments use magnetic, eddy current, or ultrasonic measuring techniques.
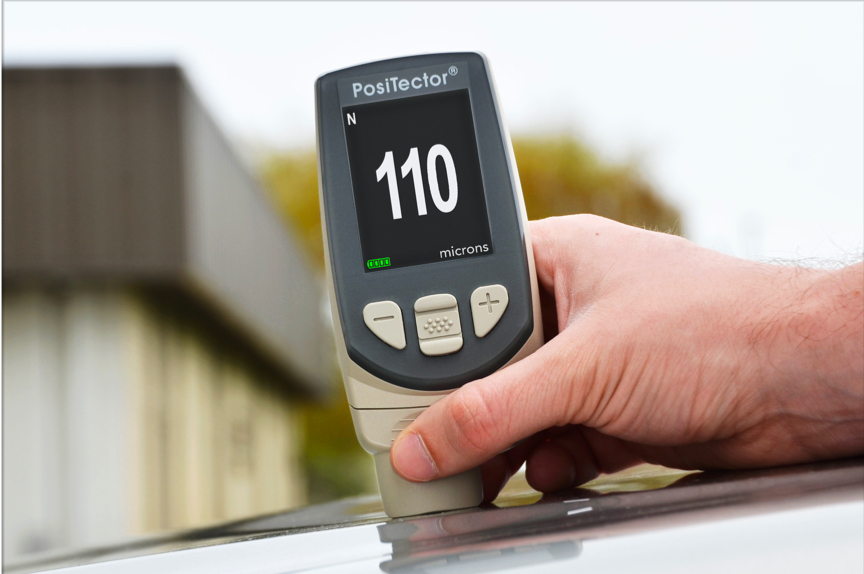
Electronic magnetic gages are much more popular in the detailing industry. They use a constant pressure probe to provide consistent readings that are not influenced by different operators. Readings are shown on a liquid crystal display (LCD). While most have basic operation, some have options to store measurement results, perform instant analysis of readings, and output results to a printer or computer for further examination. Accuracy is typically between +1 to 3% with prices ranging between U.S.$300 and $1,000.
Ultrasonic Principle for Plastic
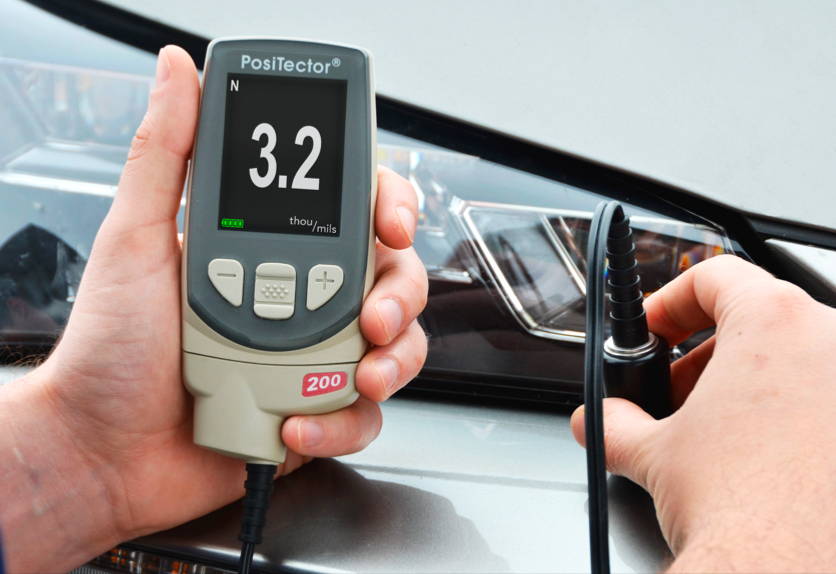
An ultrasonic technique is used when measuring the thickness of paint over non-metal substrates such as plastic and fiberglass. The probe of the instrument contains an ultrasonic transducer that sends a pulse through the coating. The pulse reflects back from the substrate to the transducer and is converted into a high frequency electrical signal that is analyzed to determine coating thickness. In some circumstances, individual layers in a multi-layer system can be measured. Prices range between $1,800 and $4,000. For more information on this type of measurement
Effective Use of a Paint Thickness Meter

There are two basic considerations when measuring a vehicle with a paint thickness meter.
The first consideration is to look for variations in paint thickness. Even though the expected paint thickness may not be known for every vehicle type, vehicles should typically have the same thickness of paint throughout. Variations in thickness, even subtle changes, can be indications of paint blending. Paint blending may be used to hide repairs ranging from minor paint touch ups for scratching to major body work such as clipping (welding two half vehicles together). The buyer should thus be looking for consistent paint thickness around the vehicle, particularly within a panel. It is important that measurements be taken near all seams approximately one inch from any edge. A significant difference in thickness between adjacent panels is a strong indication that repainting has occurred.

The second consideration is to investigate prime spots for collision or rust damage. Vehicles from northern climates tend to rust near the bottom, particularly lower door edges and panels subject to splash from the tires. Vehicles from coastal climates that receive ocean spray are more likely to rust around the hood, trunk and upper areas of fenders and doors, particularly near molding, handles and emblems. The middle area of fenders, rear quarter panels and doors are common areas for damage due to bumps and accidents.

If readings in these areas are thicker than over the rest of the car, additional measurements should be taken in surrounding areas to verify the results and to determine the reason for repainting. One of the primary advantages of using a paint thickness meter is the speed at which multiple readings can be taken.
An example of how repaired rust damage can be detected using a paint meter, read the Case Study below.
Why measure?

A paint thickness instrument is a powerful tool for finding evidence of accidents, patching of rust spots, and past paint repairs to delaminated surfaces. Problems under the paint will eventually develop with time. No matter how good the paint job, poorly prepared or damaged bodies will shorten the life of the vehicle. Thus a vehicle that has been repainted, regardless of the cause, can have a reduced resale value. The resale value decreases more significantly with high value (hi-line) vehicles and newer models.
Proper inspection can prevent unplanned future repainting costs. High quality repainting costs can be as high as $3,000 and increase significantly when bodywork is required to repair hidden collision or rust damage.
In addition, inspectors stake their reputation, future business and possible lawsuits on their judgments. If they fail to identify a vehicle that has sustained unreported damage it can have a significant financial impact. The relative low cost of paint thickness meter greatly reduces this risk in addition to paying for itself due to increases in efficiency while inspecting.
Condition Reports

Condition Reports are detailed legal documents that contain an inspector’s assessment of any damages to the vehicle along with estimated repair costs and digital images if requested. The primary purpose of a Condition Report is to accurately communicate the condition of the vehicle to the consignor. The report is a full evaluation of the vehicle’s condition, and contains recommendations from the Condition Report Writers on Recon work that can or should be done to increase the salability of the vehicle.
On-line sales further increase the need for pre or post sale detailed Condition Reports, as the consumer does not have the opportunity to verify the condition of the vehicle in person. Types of on-line sales now include: auction simulcasts where customers bid on-line against others physically attending an auction; Cyber (Smart) auctions where all bids are made on-line); Cyber lots (virtual automobile lots) where customers can browse and make purchases anytime); and dealer exchange sites that facilitates the buying and selling of wholesale vehicles (functions as an eBay for automobile dealers).
Who Needs to Measure?
The primary market for paint thickness meters is the $380 billion used vehicle remarketing industry. However, many of the same measurement principles and benefits exist in other automotive markets including body shops, painters, repainters, refinishers and detailers. Anyone with the need to control the amount of paint being applied or removed to a vehicle would recognize considerable benefits from a paint thickness meter.
Large auto auction companies have dozens of locations and thousands of employees, with the largest moving up to 9000 vehicles per week from a single location. As part of their inspection, certification and reconditioning programs, auction houses often train and employ their own Condition Report Writers. Condition Report Writers may also work for specific dealers or as independents.
Similar to the Condition Report Writers found at auctions, many other professionals have similar needs for inspecting paint thickness as part of determining a vehicles value. For dealerships, the Used Car Manager is typically responsible for appraising and accessing the amount of damage to a potential trade-in. Likewise insurance adjusters, professional car buyers and collectors have similar requirements.
Summary

An important market for paint thickness meters is the used vehicle remarketing industry. Many other
professionals have similar needs for inspecting paint thickness when determining vehicle value. For dealerships, the used car manager is typically responsible for appraising and accessing the amount of damage to a potential trade-in. Likewise insurance adjusters, professional car buyers and collectors have similar requirements. Other automotive markets that benefit from these instruments include body shops, painters, repainters, refinishers and detailers. Anyone with the need to control the amount of paint being applied to or removed from a vehicle would recognize considerable payback from a paint thickness meter. Affordable, reliable, and simple to operate, they have become an accepted and reliable tool for car buyers and inspectors to assess the value of automobiles.The related article “Automotive Paint Detailing” contains additional information, including:
- A detailed discussion of DeFelsko’s 3 options to the auto industry.
- How to take measurements with a paint meter
- Answers to a series of popular questions including “What is a mil?” “What should the paint thickness be?”, “What does F and N mean on the display?”, and “Do I have to re-calibrate my meter often?”
Case Study: Detecting Paint Damage
The vehicle shown below had undergone significant bodywork on its right front panel. Even when notified that damage existed, the damage was not visually detectable by five trainees. The five trainees were then tasked with finding the damage with a paint thickness meter. By quickly taking measurements next to the various seams in the vehicle, trainees typically took less than two minutes to locate the damaged panel while pronouncing the remainder of the vehicle fit.
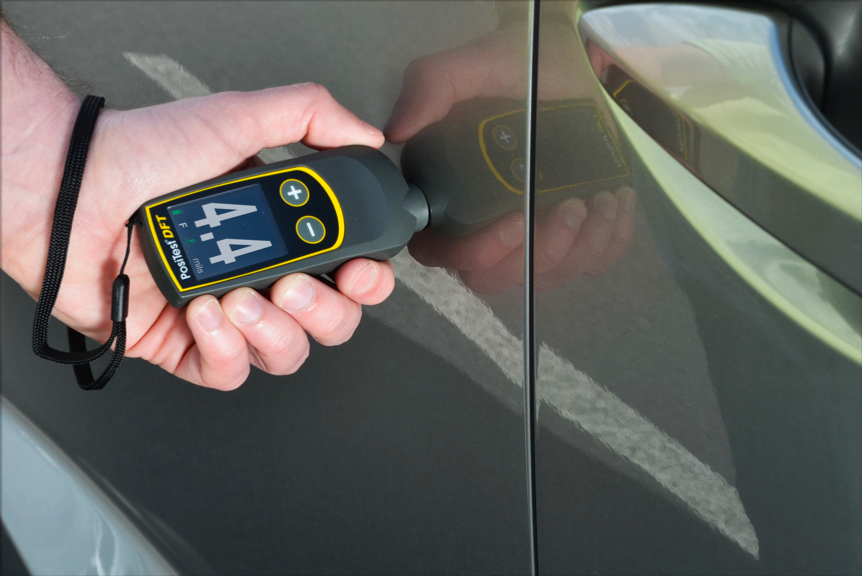
Measurements taken around the vehicle ranged between 4.2 and 4.5 mils (105 – 115 um). Figures A and B depict seam measurements taken with a PosiTest DFT Combo meter. The readings below are within the expected range and were close to readings taken across the remainder of the vehicle.
But measurements taken closer to the bottom of the panel (Figure C) had a significantly higher reading of 10.6 mils (270 um). Moving further down the panel (Figure D) readings increased to 36.8 mils (930 um) indicating significant plastic filler.
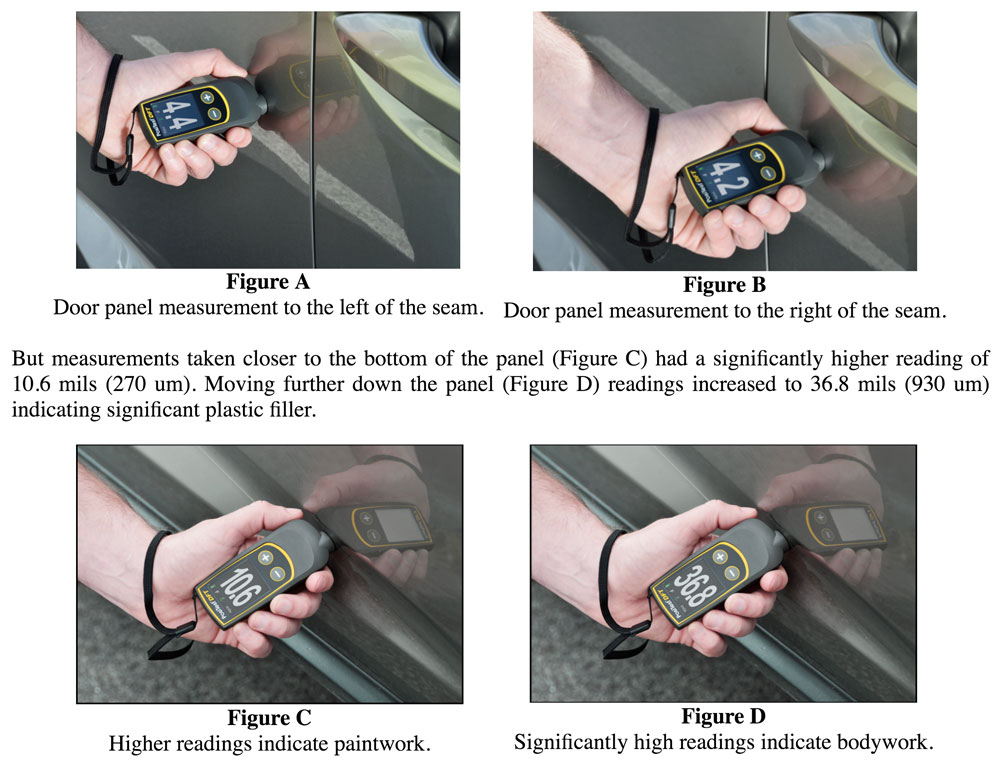
A review with the vehicle owner verified that bodywork had been completed to repair rust damage behind the front right tire, not unexpected for an older vehicle that has been driven all year round in Upstate New York.

